Friday 16 December 2016

Franken Mouse

Franken Mouse

Since my 1st trip to Mongolia in 2008, caught a Mongolian Northern Pike with a big mice pattern at the White lake, North West of Mongolia... I always wanted to tie a big mice / mouse pattern that have a big profile, looks alive on water, plenty of build-in action, light and float forever.
I still remember struggled with a wt10, trying to deliver the big mice pattern 50'-60' away... struggling because the mice become so heavy after it's wet.. ( I'm a lousy caster 😜 )

Articulated mice pattern fished in 2008

Years later, the ICE AGE mice pattern went tested with success, tie mostly in foam and synthetic materials ( less water absorbance )... float high, easy to cast and the head rise high just like a mice  swimming, splash some water like a gurgle when strip hard...but this pattern have it's limitation... size depending on the hook.
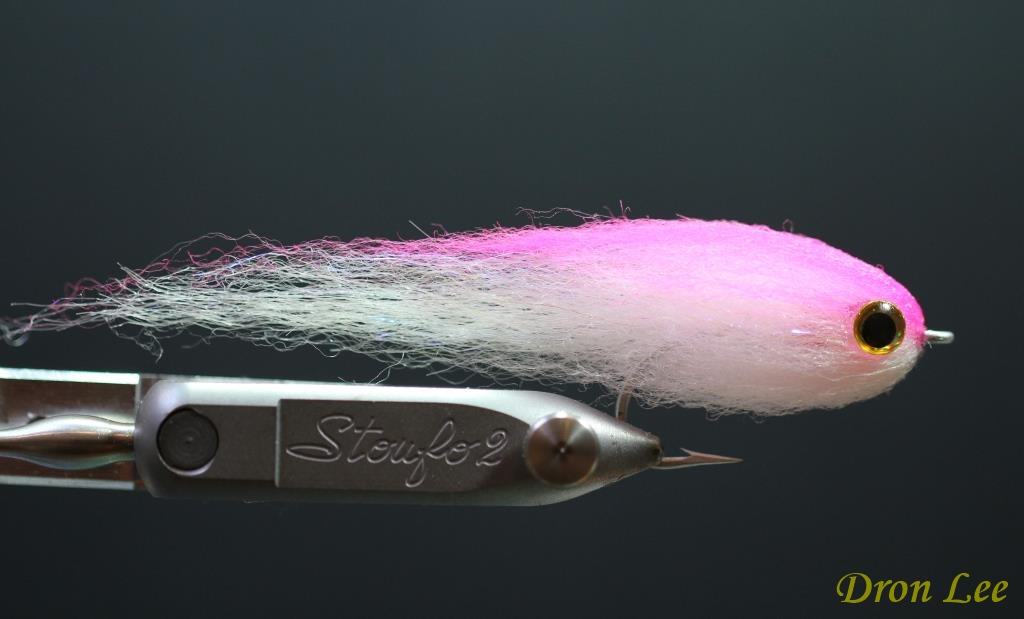
ICE AGE Mice

2015, a trip to Mongolia with Hans van Klinken... I notice that Hans was catching plenty of big Lenoks and Amur with extra large rubber legs Bomber ... ask what does the bomber looks like in the fish eye,  Hans jokingly say : mice..!!!

Yes... it does looks like a mice when it's wet. with the hackle and rubber legs moving in the water.
I need a mice pattern that is very hairy..!!!

After some study and picking up some ideas from the web, I decided to mix both foam and natural fibers for this pattern.

The Franken Mouse uses minimum deer hair, fur and natural fibers possible, to create the profile... minimize any material that will absorb water like hide or skin... inserting in foam for main flotation.
Foam mainly tie on top with a large ear profile so that the pattern will always float with hook down. Even when it land upside down, a strip will easily flip it over again. Articulated in 3 sections for more action with 2 hooks connected with a 180lbs hard wire shank.

Hmmmm.... guess I've give enough 'life' to the pattern.


Material List :

Close cell foam
Deer Hair
Opossum hair
White rabbit fur
Luminous bead
40lbs mono
Suede strip
Rubber legs

Picture step by step tying instruction:

Prepare the thread base

Tie in a mono loop

Tie in the suede tail

Tie in some rabbit fur at the bottom and some deer hair on top

Tie in some Opossum fibers on top

Tie in the 2mm close cell foam, finish the bottom with some rabbit fur

Repeat the steps above until the hook eye ( 3rd section completed )

Connect with the hard wire shank

Repeat the similar steps with the deer hair, opossum fibers and foam until the eye of the shank

Tie in the rubber legs and finished it with fibers and foam ( body ready )

Prepare the connecting wire on the main hook

connect the 3rd and 2nd section ( body ) to the main hook

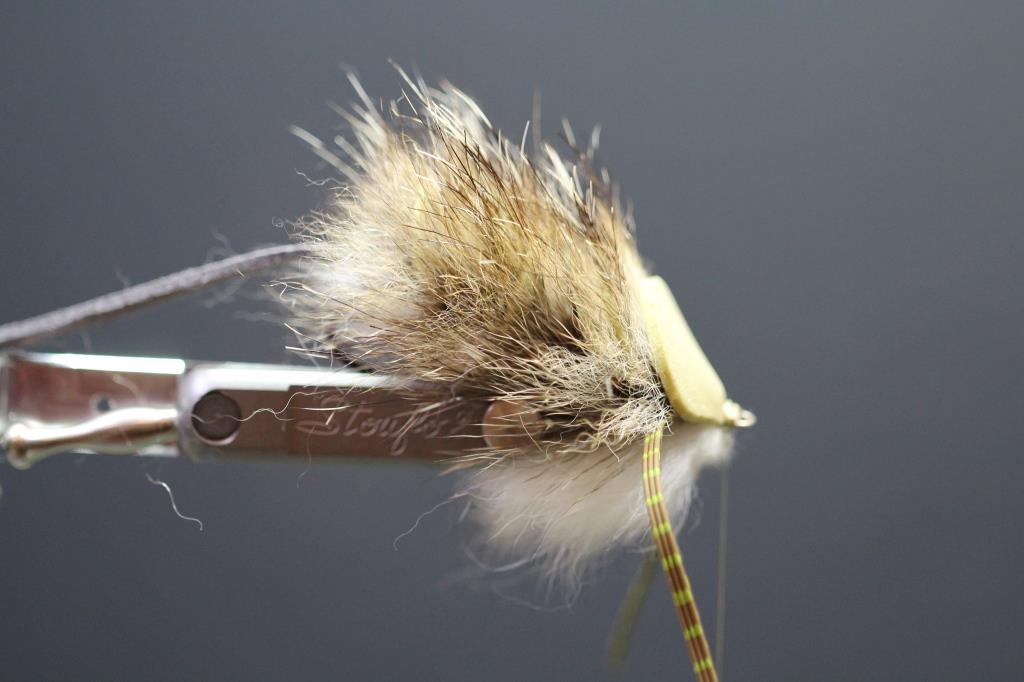
Tie in deer hair and foam ear

Stack in the deer hair

Trim the deer hair ( head portion )

Drop some epoxy and insert the eye

 Luminous bead are use for night fishing

White belly


Cheers and Happy Tying

Wednesday 7 December 2016

Lumino

Lumino

Lumino - luminous bead hidden in the head of minnow fly pattern
is a pattern I came up while designing for a heavily weighted fly or jig fly where local commonly call spin-fly
 
I wanted a pattern which have the same shape but light enough for fly fishing with different sink rate. and smaller in size too.
 Using a luminous bead,  It create a round head profile easily which push more water, hollow and less material, skinny tail and glow in the dark..

 Spin-fly
Spin-fly... with a round lead weight insert to an attached hard wire in-front of the hook.
heavily weighted so it can be easily cast out with ultra light spinning gear targeting mainly bass and bottom fishes. the weight bring the fly down very fast ( this is also a good concept if you are designing a heavy fly to fish deep or in fast current )
The round lead bead in the front provide a good base to create a very nice round head profile
Materials List:

Synthetic fiber for tail - super hair or similar
ICE dub - belly
Red dubbing - gills
Luminous bead 
Mega Dub or Lazer Dub - head
Super fine long dubbing - for head profile highlight
DC flex UV resin
3D epoxy eye
Semperfli Nano silk - 12/0


Picture step by step tying instruction:

 Insert the Luminous Bead, wind in some lead wire

 Tie in some super hair

 Dub in some ICE dub as the belly

 Wind in some red dubbing as gills

  tie in the Mega Dub

 Fold the rest of the Mega dub, tie in and comb the material to the back

 Tie in the fine wool dub

 Fold all back and comb it

Coat a thin layer of Flex UV resin to shape the head

 Drop a small drop of epoxy

 Apply the eye

 View from below
View from top


 This pattern is best tie from size 2" - 4"... by adding a lateral flash, you can tie a silverside, by tuning the wool colour you can easily turn it into a mullet or any little baitfish or minnow pattern.

Cheers and Happy tying...


Monday 5 December 2016

Caddis S Pupa

Caddis S Pupa 

illustration of Caddis pupa ( source from web )


Caddis S Pupa
Tie with 90% materials from Semperfli, that's where the name has a S for Semperfli


Material List: 

Abdomen - Semperfli Scudback Braid + Crustal stretch
Thorax - Scudback Braid +  DC UV resin
Body - Straggle string, UV Ice dubbing and hare dubbing
Legs - Crystal line + Scudback braid
Wingcase - Raffia or latex scudback
Eye - mono
Antennal - pheasant


Step by step tying instruction

 
Wind in some lead wire


Prepare the thread base


 Taper the body with 3M micro pore surgical tape

 Tie in the Crystal Stretch

 Tie in the Scudback braid

 Wind in the Crystal stretch and braid 

 add in a little bit of UV ICE dub

 Tie in a pair of Crystal Line

 Prepare the hare dubbing

 Wind in the hare dubbing, trim the top

 Tie in a pair of Latex Scudback

 Tie in a pair of Pheasant fiber

 Wind in some Straggle string

 Fold the Braid over and tie down

 Tie in the mono eye

 Fold the braid over and tie down

 Split the braid fibers

 Fold the fibers down under the body as legs

Drop some UV resin on the thorax


Done

Cheers and Happy tying