Saturday, 10 May 2014

Buggy Dragonfly Nymph


Buggy Dragonfly Nymph


Materials List

Daiichi Curve hook 1760 size 6 or 4
Deer Creek Micro Velvet Rope
Chenille dark olive
Lead wire
Mono eye
Dubbing material
Pheasant Tail fiber knot legs
3M Surgical tape
markers
Deer Creek Diamond Hard UV Resin

Step by step tying instructions:

For this pattern I use Daiichi Curve Nymph hook 1760 

Wind in some lead wire

Wind in extra lead wire on top of the existing base lead wire

Tie in the Chinelle

Wrap the lead wire with Surgical tape, to create the shape

Flatten the abdomen with a pair of flat nose plier

Dub in the dubbing material

Dubbing cover about 3/4 of the hook shank

Tie in the mono eye

Wind in the Chenille to create the segment of the abdomen

Brush out some dubbing

Tie in the pre knot legs

Split the fiber as legs and antenna...Tie down the fiber

Dub in some dubbing to split the legs

BUrn the end of the Micro Velvet Rope, tie in as the wing case

Bring the Velvet rope to side, tie down next to the eye

Bring the Velvet rope under the mono eye

Bring the Velvet Rope over between the hook eye, over the mono eye... tie down

Whip finish... color the Velvet rope with marker

Drop a small drop of Deer Creek Diamond Hard UV resin... dry it with UV light

The Buggy Dragonfly Nymph is ready

Cheers... Happy tying
and catch some fish for me.... :-)


Sunday, 4 May 2014

Velvet Dragonfly Nymph

Velvet Dragonfly Nymph

Material list:

Deer Creek Micro Velvet Rope
Curve Nymph Hool
Lead Wire
3M Surgical tape
Mono eye
Dubbing
Pheasant tail knot legs
Markers
Deer Creek Diamond Hard UV resin

Step by step tying instruction:

Prepare the thread base

Tie in lead wire to create the shape of the abdomen

Cover with tape and add in more lead wire

Getting the shape of the abdomen

Tie in the DC Micro Velvet Rope and apply some gel glue on both side

Wind in the Velvet rope, tie down at the hook eye

Tie in the mono eye, color the velvet rope with markers

Tie in a pair of Pheasant Tail knot leg

Tie down the fiber as legs and antenna

Dub in the dubbing material

Wind in the Velvet rope to create the head profile

Head profile ready

Tie down the Velvet rope near the last pair of leg, tie down the rope

Fold the Velvet rope to create a loop for the wing case

Tie down the velvet rope and trim finish

Cut the loop

Burn the rope

Color the thorax section with marker and drop some DC Diamond Hard UV resin

Color the eye and the Velvet Dragonfly Nymph is complete

Cheers.... Happy tying


Sunday, 27 April 2014

Wiggling Minnow Version2

Articulated Wiggling Minnows - Version 2


Material list:

Hard wire for bending the articulate shank
White rabbit zonker
PRISM SLF dubbing and ICE dub ( or you can also tie with craft fur )
Wide gap hook size 2 or 1
Hologram eye
Markers
Deer Creek UV resin


Step by step tying instruction:

 Prepare the thread base on the hard wire shank

Tie in some rabbit zonker fibers

Tie in some Ice dub, make sure it's spread around the shank

spread the dub, fold it over

Tie down the Ice dub

Tie in another dub material, this time put in a little bit more... then repeat the same steps as above

Continue the similar steps as above and make sure each time you put in more dub material until you finish the tail portion

Connect the tail portion with the joining shank

Tie down the shank

Put in the Dubbing materials

Fold over the dub and tie down

Repeat until you cover the whole hook shank


 Whip finish 

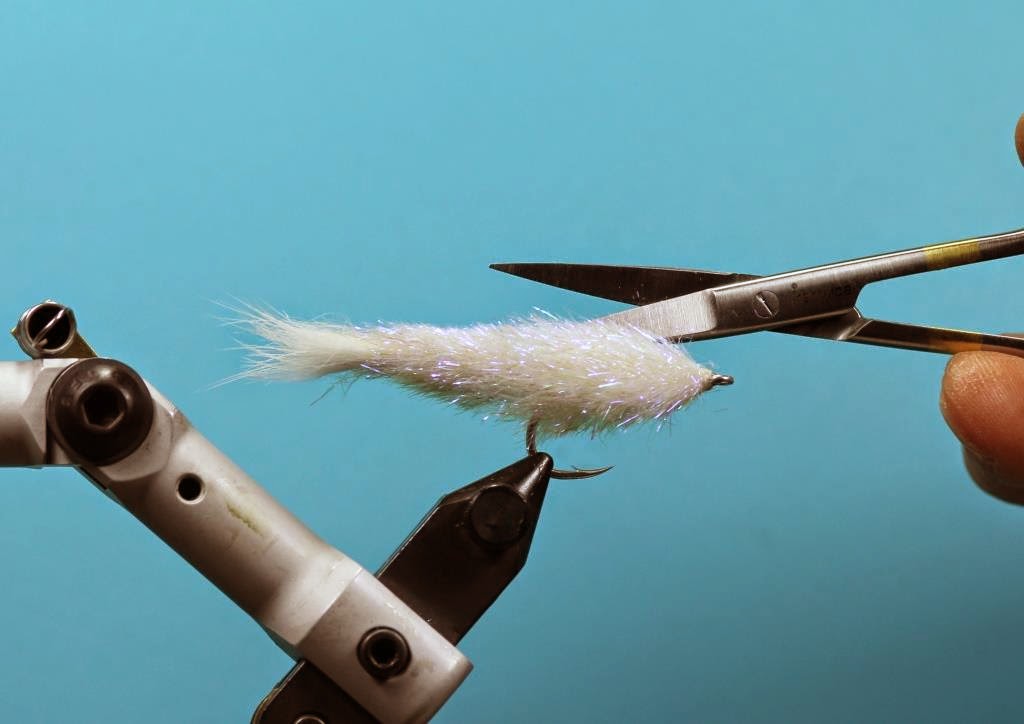
Trim the fibers with a pair of siccors

Color it with markers

Burn the fibers for the eye

Drop some Gel Glue to secure the eye, then app;y some Deer Creek UV resin around the eye


The Wiggling Minnow is ready

 Similar technique you can also create a lot of different minnow pattern

Wiggling Sand Eel

This one imitate local G. Snakehead fry... specially target the Hampala

For Saltwater

Saltwater - un-trim

Cheers... Happy tying