Sunday 1 December 2013

Dragonfly Nymph

Dragonfly Nymph

Similar technique tying the Swimming Damsel... I replace the Furry foam with Chenille and copper wire with Vinyl D-rib... 

Material List :

Bend nymph hook
Mono eye
Flexi skin
Copper wire
Chenille
SLF Dubbing
Pheasant tail fibers
Marker, lead wire and Surgical tape

Step by step tying instruction:

 Prepare the thread base

Tie in some lead wire at both side

Tie in the copper wire

Wrap in some surgical tape to create the abdomen shape

Tie in the flexi skin and the follow with the chenille

Tie in the mono eye

Wrap the chenille, tie down near the eye and trim the extra

Do some random shade with the marker, color the flexi skin

Fold over the flexi skin and tie down

Create the segment with the copper wire, tie down and cut away the extra

Tie in a pair of knotted Pheasant tail fiber leg

Split the legs, keep 2 pair and a pair for the antenna, dub in some SLF dubbing to split them

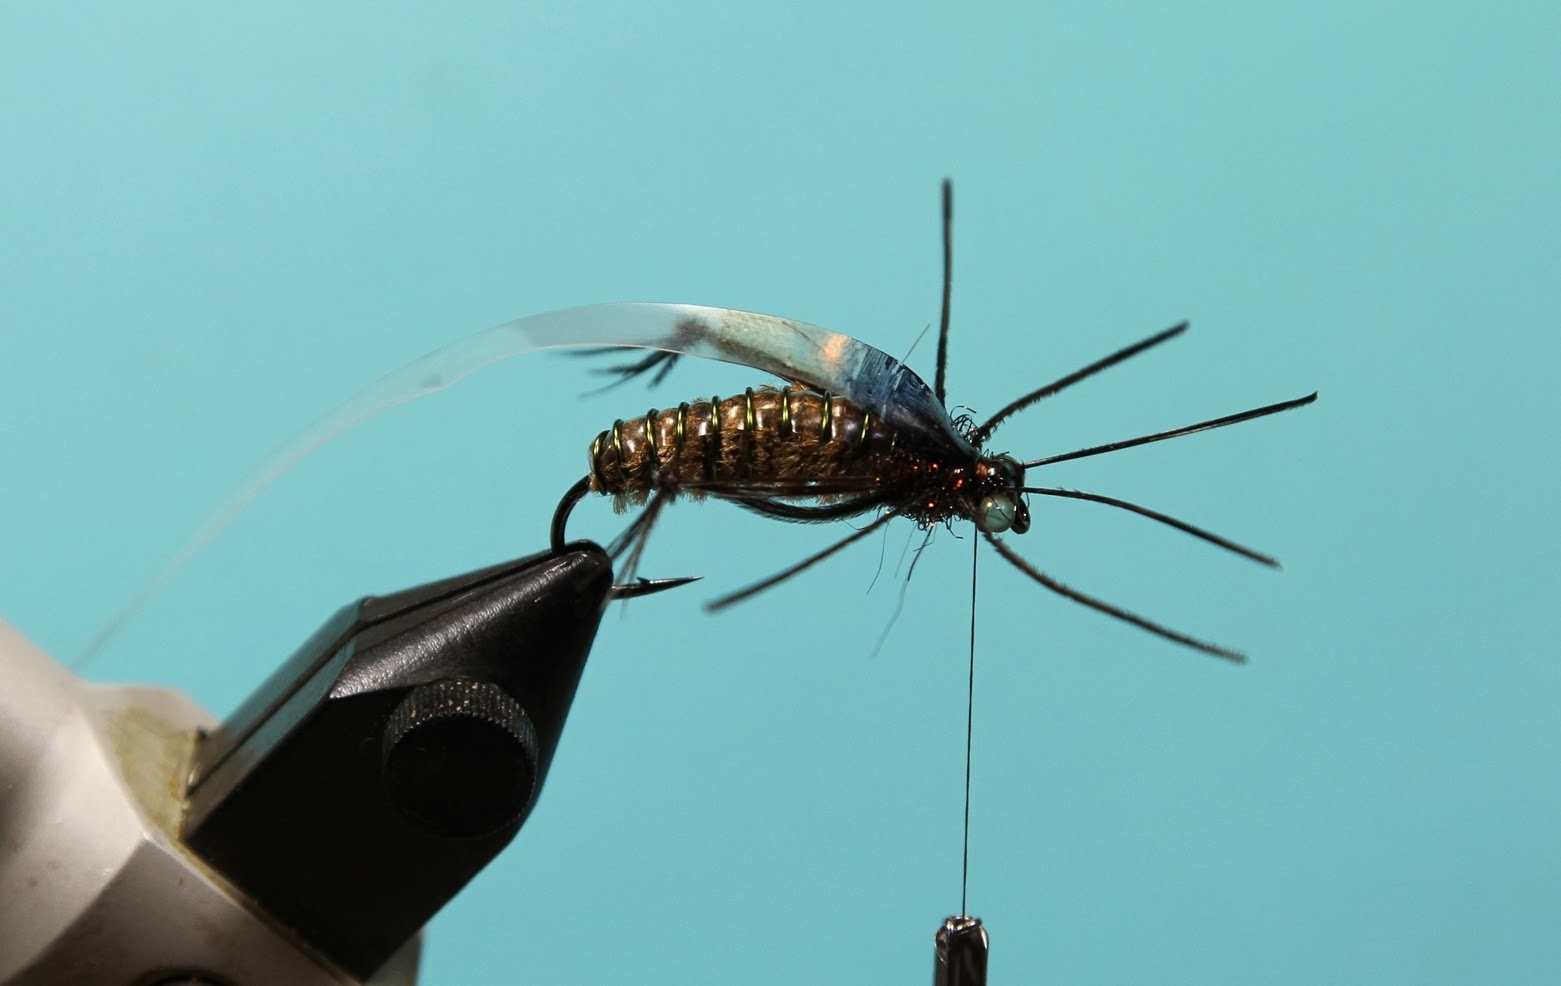
Fold over the flexi skin, tie down the head segment

Bring the thread to before the last pair of leg, tie down the flexi skin, to create the thorax ( you can also put in a slice of foam to create better buoyancy )

Trim the extra flexi skin, whip finish....
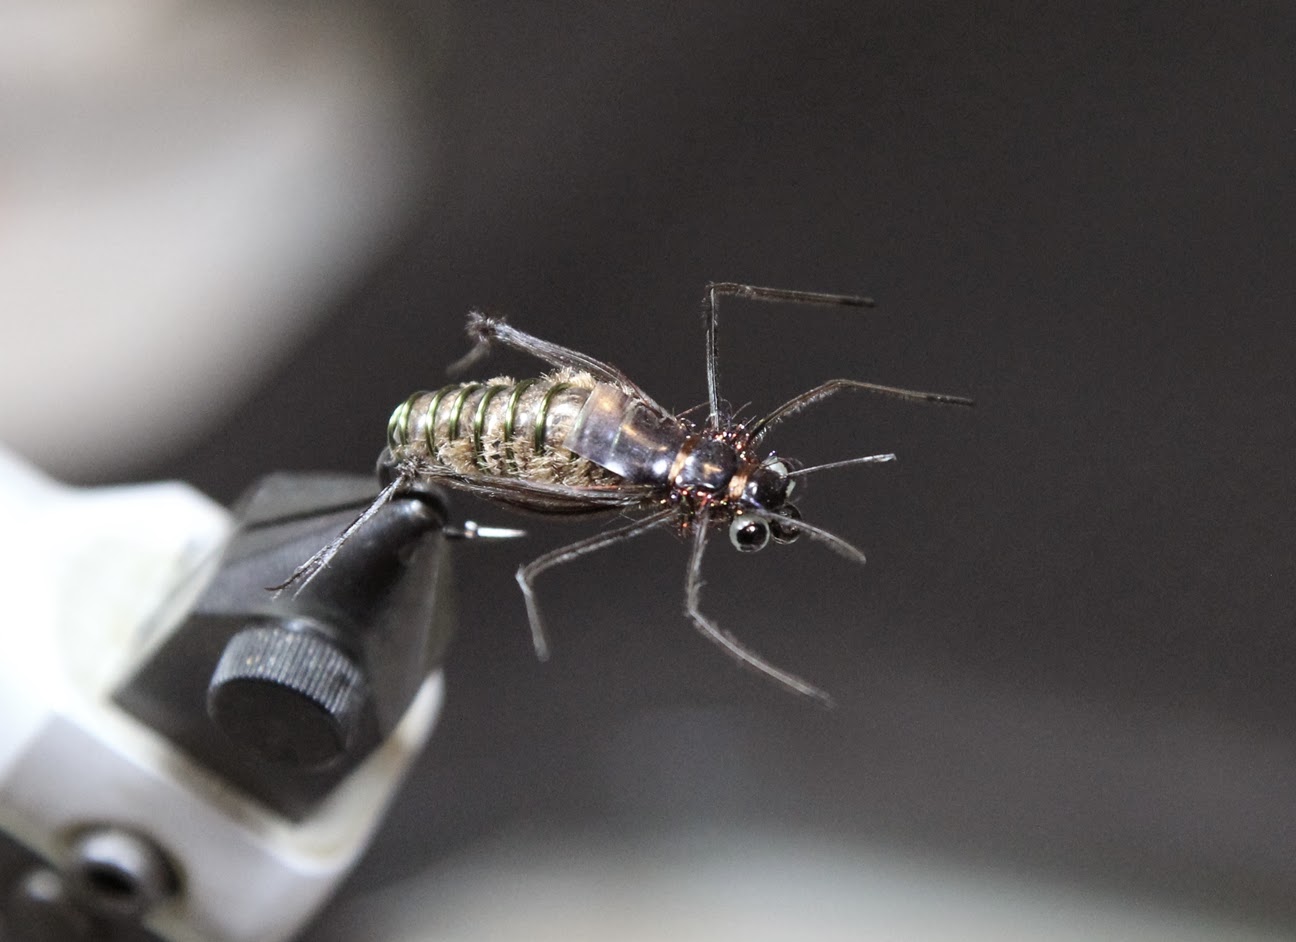
The nymph is ready

Cheers and Happy tying

Saturday 9 November 2013

Swimming Damsel Nymph


Swimming Damsel Nymph


Material list :

Hook - Daiichi 1870 Swimming Larva Hook size 10, 8, 6
Furry foam
Vinyl D Rib
Pheasant tail fiber for legs
CDC puff for tail
Mono eye
Flexi skin
Dubbing
Diamond Flex UV Resin
3M surgical tape

Step by step tying instructions:


Prepare the hook

Place 2 pcs of lead wire at the side of the hook

Wrap the abdomen portion with 3M surgical tape to create the shape you want

Bring the thread to the tail, tie in some Vinyl D Rib and flexi skin

Tie in 2 CDC puff at both side and tie in furry foam

Wind in the furry foam, tie down

Colored the flexi skin, fold over and tie down

Wind in the Vinyl D Rib, tie down

Tie in the mono eye

Use about 5-6 pheasant tail fiber, prepare the knob legs, tie in at both side

Spread the fibers, tie down as legs and antenna

Dub in some dubbing to spread the legs and to create the body

Fold the flexi skin over, tie down to create the head

Bring the thread to before the last pair of legs, tie down the flexi skin to create the thorax

Trim the flexi skin, color it with marker

Trim the legs, fold it and apply some Diamond flex UV resin to secure the shape of the legs..

Cheers....

Happy tying


Friday 25 October 2013

MagicHead Baitfish

MagicHead Baitfish
A friend asked me, can you tie a Airhead pattern... I said, I will try... 

So this is my version of a hollow head baitfish pattern which I call MagicHead Baitfish, which a bit similar with the Airhead pattern.

It's simple to tie...

Material list :

Marc Petitjean Magic Head
SF Blend
Polar Flash
Mirror Flash as lateral line ( optional )
Ice Dub ( Optional )
Saltwater Hook
Deer Creek Gator eye
Deer Creek UV resin

Step by step tying instruction:

Put in Magic head to the hook, about 1/4 length of the hook shank from the eye, prepare the thread base

Tie in some Ice Dub ( optional step ) 

Fold the Ice dub, tie down... whip finish and drop a small drop of super glue to secure it

Fold the cone over

Prepare thread base, wind in at diagonal to push the cone away from the hook point
( to create a bigger gap )

Make sure the cone is away from the hook point

Tie in some SF Blend

 
 Spread the fibers and fold over, make sure it's covering around the cone

Repeat the steps with a longer SF Blend fibers

Repeat the steps with some Polar Flash

Tie in some mirror flash as lateral line ( optional step )

Stick the Deer Creek Gator eye

Apply 2 coat of Deer Creek Diamond UV resin

Dry the resin with UV light

Make sure you also apply some resin at the belly, so the fibers are secure to avoid it from flip over to the hook


 If you want it to sink faster, you can also wind in some lead at the hook shank before you put in the dubbing... or coating with thicker UV resin


Cheers and happy tying