Monday, 20 February 2017

Disco.Crab

Disco.Crab

Few years back, when I was fishing in Maldives... one of my buddy caught a big GT on a really shinny crab pattern...  and the best thing is.. that shinny crab pattern landed many bonefish and different species in Maldives.
since that day, I've been wondering ... why..??? No answer..
Maybe they like to go disco... 😂 


Found one of this tubing which was sent to me by Deer Creek in the drawer the other day, and immediately I know I found the right material for my own 'Bling Bling' Shinny crab pattern.. 

Wooooow.. lets go party... it's DISCO time..!!


Material List: 

Flexibody Tube - Deer Creek
Rubber legs
Crabby eye or any mono epoxy eye
ICE Dubbing and Rabbit fur -hot spot and some movement
Zonker strip leather - as the pincer
Gamakatsu SL12S size 2
 long and fine Dubbing from Semperfli as base

Picture step by step tying instructions


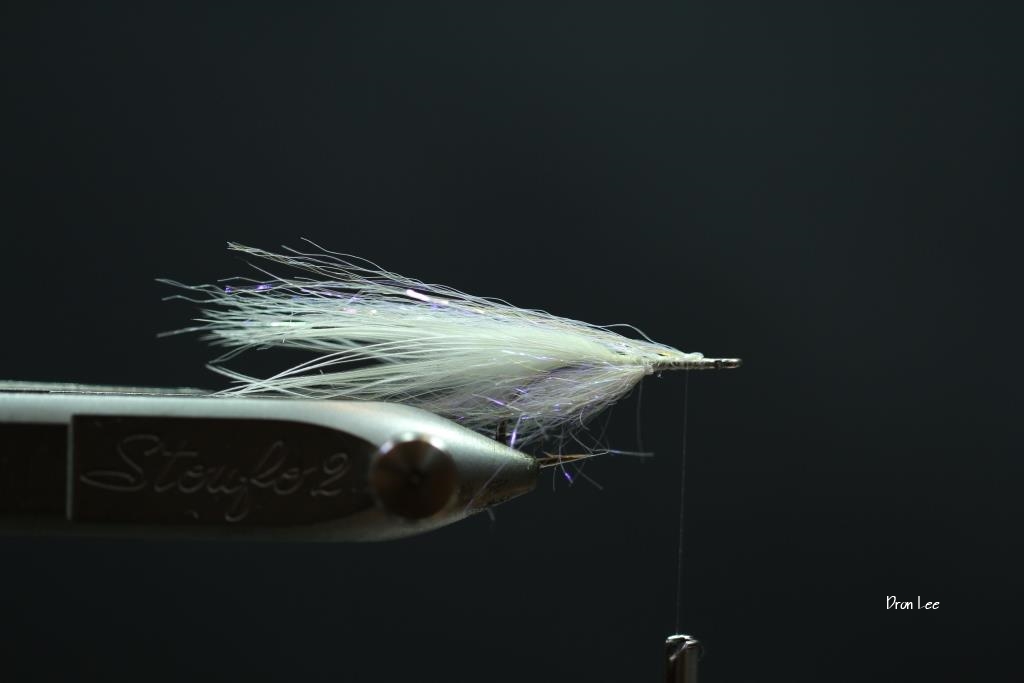
 Prepare the thread base, tie in the dumbbell

 Tie in some ICE dubbing

 Tie in the Flexibody tubing

 Tie in some Rabbit fur

 Tie in a pair of eye

 Tie in the pincer

 Turn over and tie in some orange colour dubbing ( as eggs )

 Now tie in the 1st pair of rubber legs
 Turn it over again and tie in the base colour in V tie technique

 Tie in the 2nd pair of rubber legs

 Repeat the above steps with the rubber legs and base dubbing

 View from below with all the rubber legs tie in

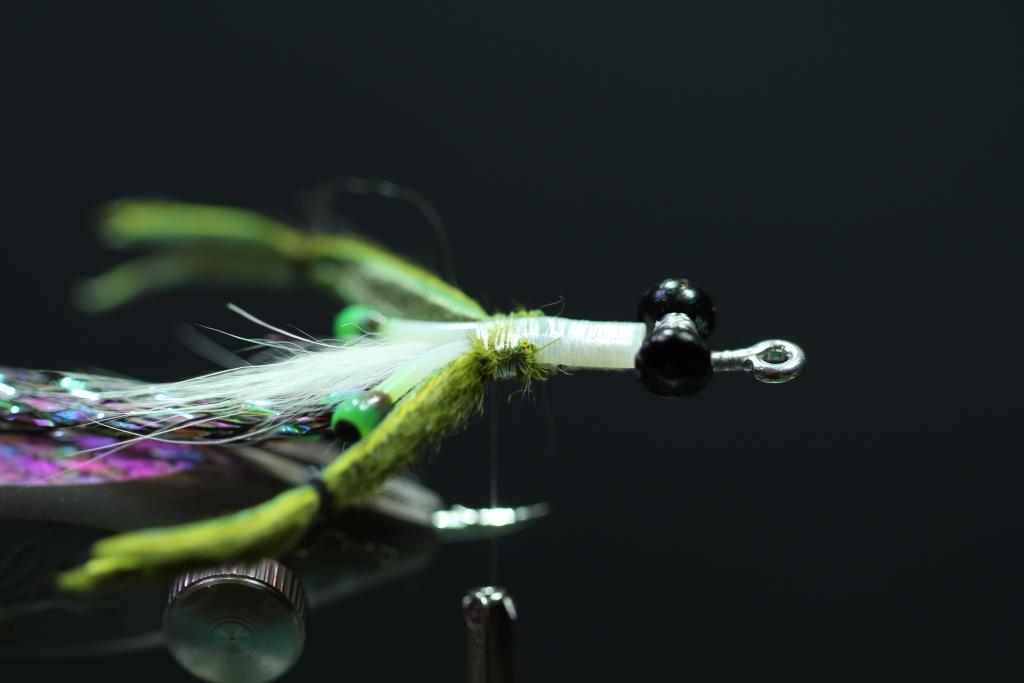
 Now spread the tubing and flattens it and tie it down near the hook eye
 Trim the tubing and the bubbing

 Drop some UV resin and dry it with UV light, this will help fix your legs position

Apply a thin coat of UV resin to the edge on the tubing to fix the shape

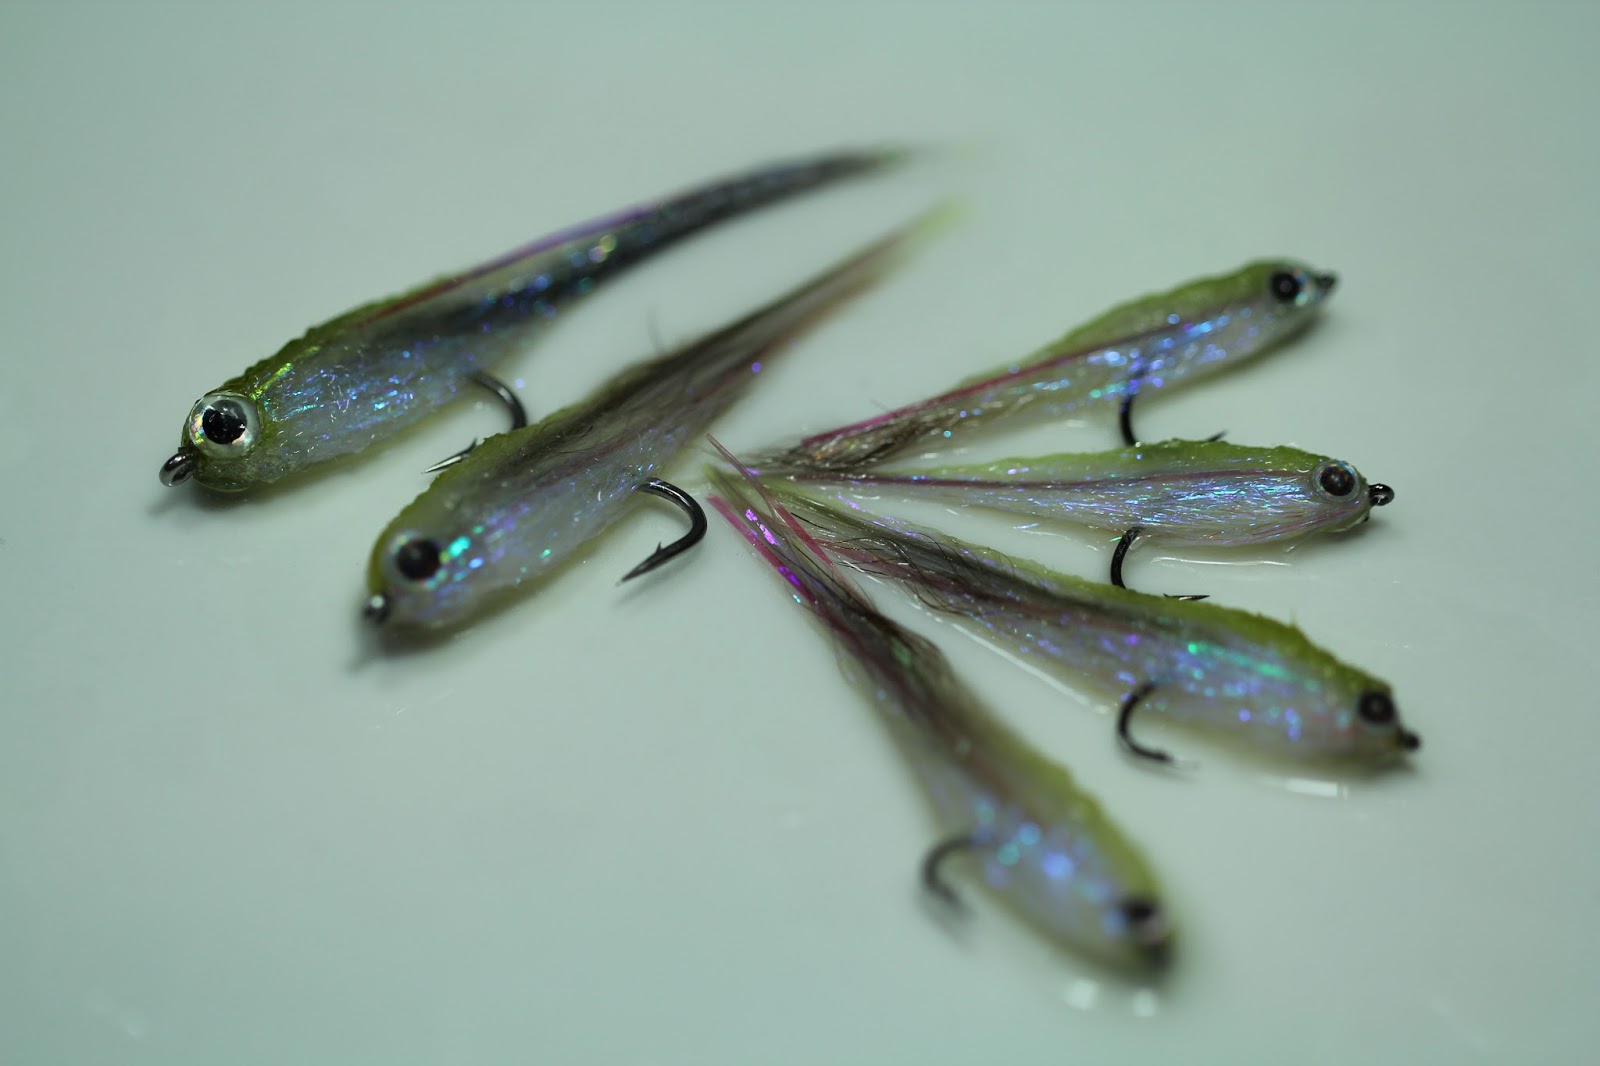
and it's ready to party...

Playing with different base colour, you can create different colour or crab pattern that suit to the party mood... 😂😂😂

Cheers and have fun tying...


Wednesday, 8 February 2017

Smelt . v2

Smelt.v2

This is my second Smelt pattern... 

A friend send me a photo of Smelt in his river asking can I tie this little minnow as small as 4cm... 


So... the challenge is on..!! 
After many attempt... from 5cm... slowly size it down to 4cm.. 

for this version... I have put in marabou as tail, plus a little bit of Oposum fibers to keep the marabou in place... playing with UV ICE Pearl dubbing as the belly and Pearl lateral line with some UV enhancer fiber 

It's not a difficult fly pattern but the size make it tough as you will need to minimized the material for 5-6cm when you tie smaller size.


Material list:

Size 10 hook 
White marabou + Grey Marabou -for swimming tail
Oposum fibers - additional fibers to enhance the marabou
UV enhancer fiber - enhance the lateral line
Pearl Lateral line - as lateral line
PRISM ICE Pearl - as belly
Mega dub - for head profile
2mm dia epoxy eye
Epoxy
Loons soft head 
UV resin

Picture step by step tying instruction :

 Prepare the thread base, tie in some white marabou fibers 

 Tie in some UV ICE Pearl dubbing as the belly

Tie in the UV enhancer

 fold back the fibers

 Add on some grey marabou

 Tie in some Oposum fibers

 tie in the mega dub and UV ICE peral dub

 fold back bothe fibers, comb it to the back

 Tie in the Pearl lateral line

 Highlight the fibers with marker

 drop a small drop a epoxy, stick the eye on

coat the head profile with loons soft head

Coat with UV resin


Tuesday, 3 January 2017

Cicada X - Xtra

Cicada X . Xtra- 2016 version

There was many Cicada pattern that I have tied... this is one which I like most and simplified.

Materials list:

 Close Cell foam - 3mm thk
Luminous bead + mono line
rubber legs
UV flashabou
Bucktail
some transparent fiber from your paint brush
Toothpick or Ice cream stick
 Loons soft head
Markers


Picture step by step tying instruction:

Cut the foam as per the shape, insert a black foam and fused both together ( edge only )

Use a nail polisher as the support... insert your foam body

Tie in the segment

trim the edge so the body looks nice 


Use a permanent marker and paint the body to mimic the colour of the cicada in your area

Use a toothpick, punch a hole at the center of bottom ( to the location where your hook will peel thru ), insert the hook with the hook eye first... this will make sure your hook will always at the right position

Tie in a pair of toothpick or a pre-cut Ice cream stick... these will create a good 'flat' base for your foam to tie on and will stop the foam from twisting 

Tie down the foam body, also tie down the black foam, you may choose to drop a drop of super glue before you tie it down but the flat wooden base is actually pretty strong to hold the foam.

Cut the head profile foam piece and insert in from front


Tie in the eye... and then tie in the paint brush fibers, flashabou and bucktail ( or any long deer/elk hair you you have )

fold the foam over, drop a drop of super glue and tie down just behind the eye

use a needle to bring the pre-knoted rubber legs thru the foam

apply some Loons soft head on the foam, this will help keep your marker's colour and protect the fly


The soft head will also keep the rubber legs in place.

Cheers and Happy tying